Real-time Page Views with Next.js and Supabase

Let's Build our own real-time page view tracker using Next.js as the frontend framework and a Postgres database hosted by Supabase.
One of the best ways to understand how your blog posts are performing is by tracking page views. You can begin to understand what posts and information your readers care more about based on number of views. You can then focus your efforts on the more important content.
Many people use tools like Google or Fathom Analytics for tracking traffic. With the rise of Ad-Blockers, your traffic collected with these services are not necessarily accurate.
Why not build a page view tracker with your own API routes? The beauty of doing so, ad-blockers will not risk blocking the request without possibly breaking website functionality. This will allow for a more accurate count of page views.
Tools Used
Next.js
We will be using Next.js as our frontend framework. It gives us the power of prerendered React.js, serverless API routes, and typescript with minimal configuration.
Supabase
Supabase is an open-source alternative to Firebase. They offer an API wrapped Postgres Database with real-time subscriptions.
Set up your database hosted by Supabase
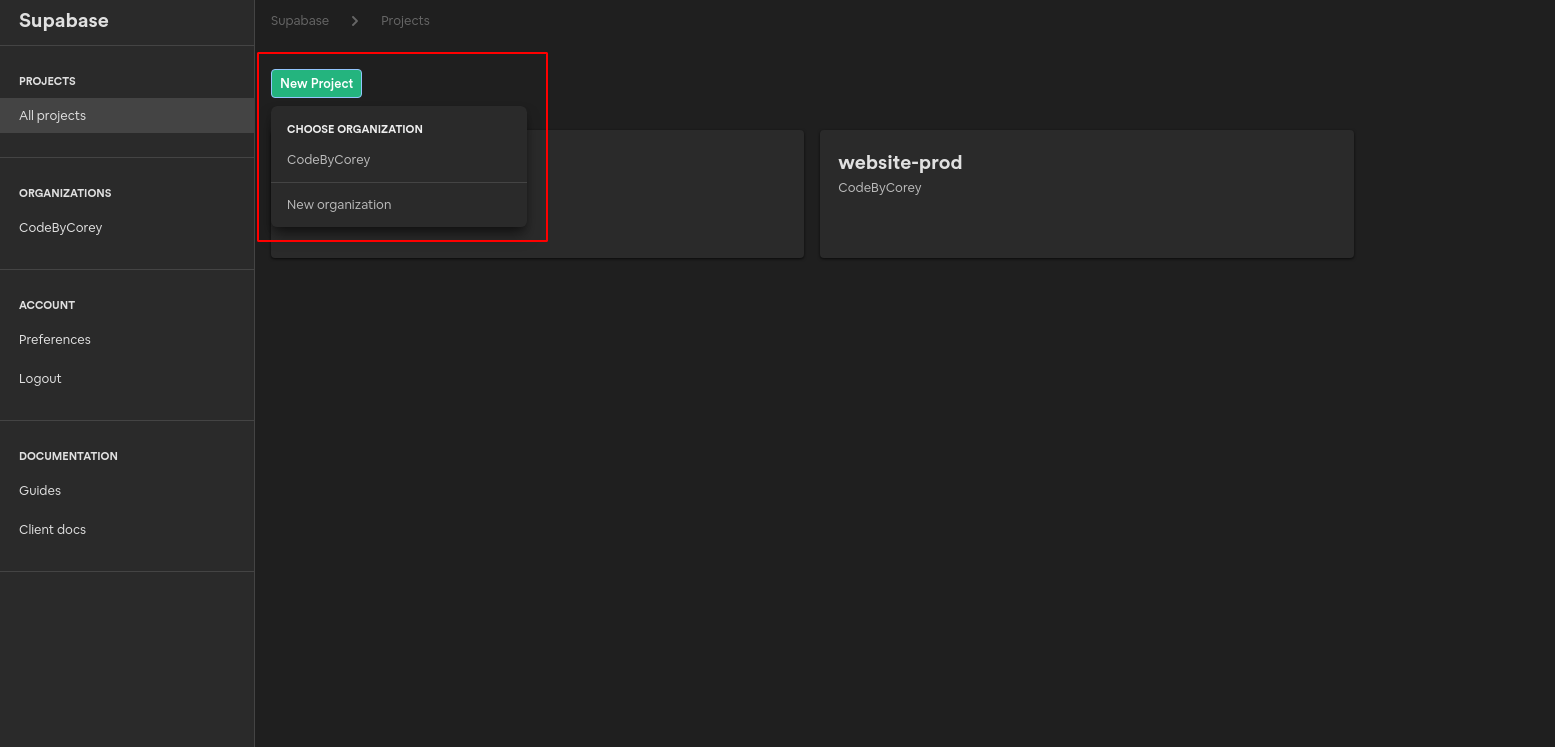
Sign in or Sign up for Supabase. Then create a new project. You can either use an existing organization (if you have one) or create a new one.
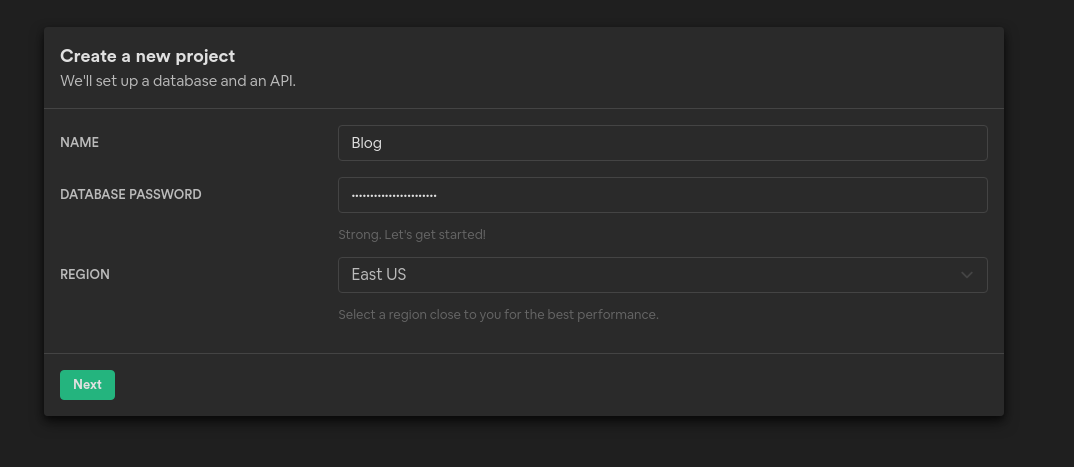
Enter your project name, add a strong password for your database, and select which region you want your database.
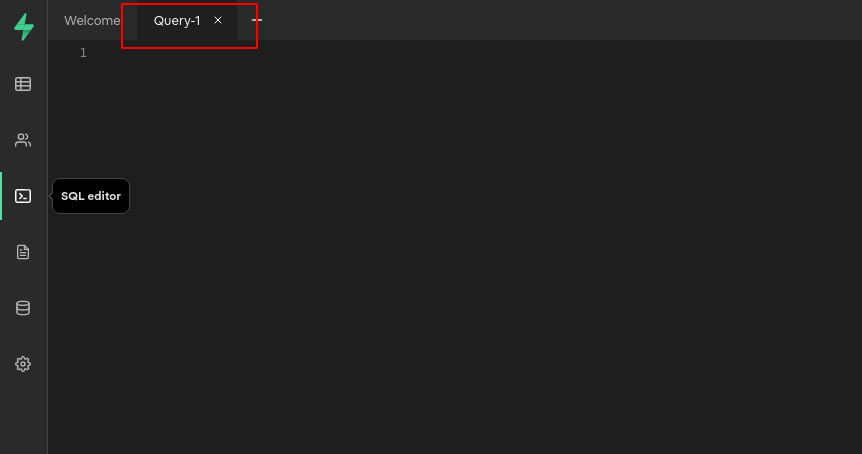
Once the database finishes setting up, we need to create a table to store our pages and the total view count. Navigate to the SQL editor and switch to the Query-1 tab.
You can then paste the bellow SQL query and run it to create a new table called pages with columns id, slug, view_count, and updated_at.
CREATE TABLE pages (
  id bigint GENERATED BY DEFAULT AS IDENTITY PRIMARY KEY,
  slug text UNIQUE NOT NULL,
  view_count bigint DEFAULT 1 NOT NULL,
  updated_at timestamp with time zone DEFAULT timezone('utc'::text, now()) NOT NULL
);
We need to run one more query to add a stored procedure to our database. A stored procedure allows us to add or extend functionality to the database.
Let's first breakdown the query below.
CREATE OR REPLACE FUNCTION increment_page_view(page_slug TEXT)
RETURNS void
LANGUAGE plpgsql
AS $$
BEGIN
    IF EXISTS (SELECT FROM pages WHERE slug=page_slug) THEN
        UPDATE pages
        SET view_count = view_count + 1,
            updated_at = now()
        WHERE slug = page_slug;
    ELSE
        INSERT into pages(slug) VALUES (page_slug);
    END IF;
END;
$$;
- This adds a function called
increment_page_viewthat has a parameter ofpage_slug. - It sets the language to
plpgsqlwhich is specific to Postgres. - When you trigger the function, it checks to see if a row exists where
slugequals the parameterpage_slug. - If it exists, update the row by adding
1toview_countand settingupdated_atwithnow(). - If it does not exist, insert a new row with
slugequal topage_slug.
Now that we know what this function actually does, open a new query tab in the SQL editor. Paste the query in and run it.
Your database should be fully set up to track page views now!
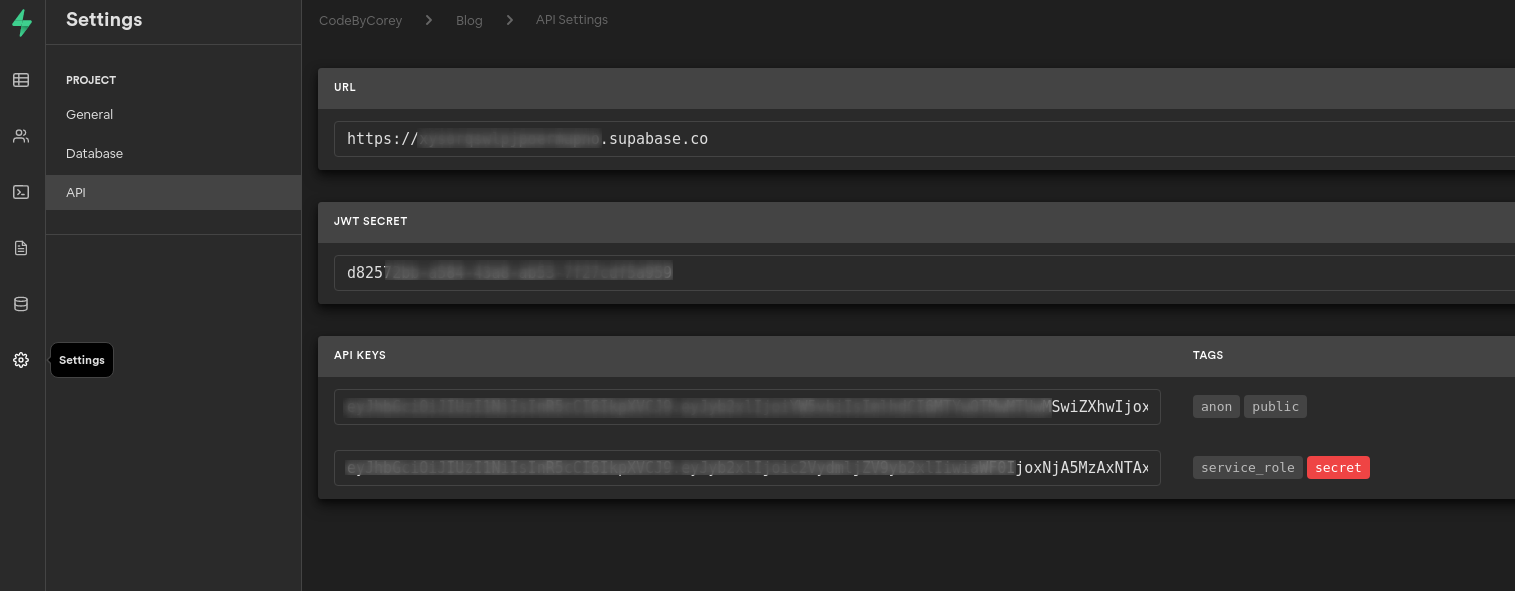
The final thing we need to do is get your API keys located in API under settings.
Now add them to your next.js project's .env file.
NEXT_PUBLIC_SUPABASE_URL=             # URL
NEXT_PUBLIC_SUPABASE_CLIENT_KEY=      # public
SUPABASE_SERVICE_KEY=                 # service_role
Adding the page view feature to Next.js
Let's first install some dependencies we will use:
@supabase/supabase-js: Client to connect and query your database hosted by Supabase.swr: React Hook library for data fetching.
npm install @supabase/supabase-js swr
Now you can create a file lib/supabase-admin to initialize your Supabase client.
import { createClient } from '@supabase/supabase-js';

const supabaseUrl: string = process.env.NEXT_PUBLIC_SUPABASE_URL || '';
const supabaseServerKey: string = process.env.SUPABASE_SERVICE_KEY || '';

const SupabaseAdmin = createClient(supabaseUrl, supabaseServerKey);

export { SupabaseAdmin };
Important: Only use your ServerKey on server side logic. You do not want to expose your ServerKey publicly. If you want to use the client on your frontend code, use
NEXT_PUBLIC_SUPABASE_CLIENT_KEYinstead ofSUPABASE_SERVICE_KEY
We will need to create an API route to increment and fetch the page views. /pages/api/views/[slug].ts
import { NextApiRequest, NextApiResponse } from 'next';
import { SupabaseAdmin } from '@lib/supabase-admin';

export default async (req: NextApiRequest, res: NextApiResponse) => {
  if (req.method === 'POST') {
    // Call our stored procedure with the page_slug set by the request params slug
    await SupabaseAdmin.rpc('increment_page_view', { page_slug: req.query.slug });
    return res.status(200).json({
      message: `Successfully incremented page: ${req.query.slug}`
    });
  }

  if (req.method === 'GET') {
    // Query the pages table in the database where slug equals the request params slug.
    const { data } = await SupabaseAdmin.from('pages').select('view_count').filter('slug', 'eq', req.query.slug);

    if (data) {
      return res.status(200).json({
        total: data[0]?.view_count || null
      });
    }
  }

  return res.status(400).json({
    message: 'Unsupported Request'
  });
};
We can now create a component to fetch and display the page view count. /components/PageViews.tsx
import useSWR from 'swr';
import { FC } from 'react';

interface PageViewsProps {
  slug: string;
}

const fetcher = async (input: RequestInfo) => {
  const res: Response = await fetch(input);
  return await res.json();
};

const PageViews: FC<PageViewsProps> = ({ slug }) => {
  const { data } = useSWR(`/api/views/${slug}`, fetcher);

  return <>{data?.total ? `${data.total} views` : `–––`}</>;
};

export default PageViews;
Finally, you can add the logic to your pages to increment pages views and display it. Example: /components/BlogLayout.tsx
import { FC, useEffect } from 'react';
import PageViews from '@components/PageViews';

interface BlogLayoutProps {
  slug: string;
}

const BlogLayout: FC<BlogLayoutProps> = ({ slug }) => {
  useEffect(() => {
    fetch(`/api/views/${slug}`, {
      method: 'POST'
    });
  }, [slug]);

  return (
    <div>
      <h1>{slug}</h1>
      <div>
        <PageViews slug={slug} />
      </div>
    </div>
  );
};

export default BlogLayout;
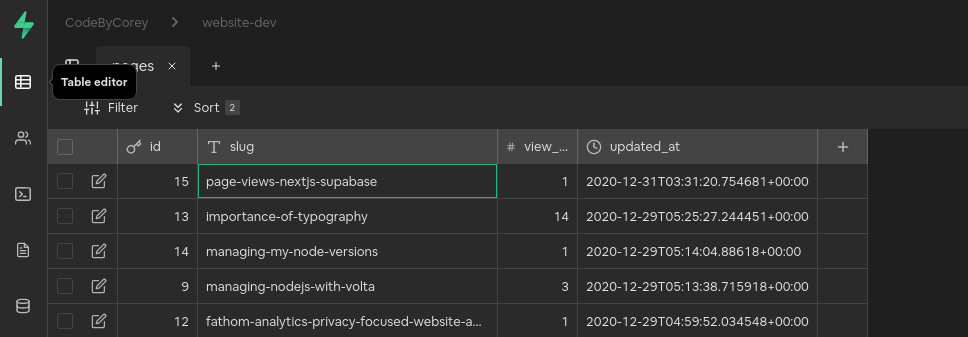
Whenever you load your page, it should make a POST request to increment your page views. If you wanted, you could check out the Supabase Table Editor view and see your table update as you increment page views on your website.
Bam! You now have a real-time page view tracker for your blog or whatever page you want.